Let’s discover, how to install R Services with SQL Server 2016. First, you need to check the respective component it during the installation process. In the early CTP versions it was called the Advanced Analytics Extensions, but in RTM it was renamed to R Services (In-Database).

If your server is connected to the Internet, the installation process will be easy and straightforward, all the required components will be automatically downloaded and installed. But, the real world is different, and most of the servers don’t have a direct Internet connection because of the security requirements. In that case, you still should run SQL Server installation and do the same choice as I mentioned earlier, but on the next step, you’ll see the following window where you should agree with the R Open installation.

Click Accept, then Next. The installation program will ask you for the directory, where R Open and R Server distributives are located as well as the links, where you can download them.

If you don’t have these distributives, go download them from the computer, where there is the Internet connection and then put somewhere, so that the installation program will have access to this folder. After it click Next and wait for the installation to finish. As you see, the process is quite easy too. Now it’s time to activate the R Services after SQL Server 2016 installation. You can do it with sp_configure command.
sp_configure 'external scripts enabled', 1
Attention! You need to restart SQL Server instance. After it, you could run the basic R scripts inside you SQL Server, but as we learned earlier, the real power of R language is in its extensions, called packages. So, in the future, you’ll need some of them too. The packages installation is described in the official documentation, but I suggest you one more way, which is more convenient, I believe.
Go to the C:\Program files\MSSQL13.MSSQLSERVER\R_SERVICES\bin or C:\Program files\MSSQL13.<instanceName>\R_SERVICES\bin\x64 folder depending, whether you installed the default of named instance and run R.exe with administrative privileges (it is required to have write permissions the packages directory).

You’ll see common R language console, where you can enter any R command.

Let’s see, how to install the very popular ggplot2 packages, which is often used to create rich graphics. Again, if your server is connected to the Internet, you just need to run the following command.
install.packages("ggplot2")
If not, the process could be somewhat complicated. First of all, you need to download the package and all of its requirements from the Internet. To do that, we need to go to the CRAN repository. For the ggplot2 package the URL will be https://cran.r-project.org/web/packages/ggplot2/index.html.

On the bottom, you see the link for the Windows binary ZIP archive for this package, and on top in Depends and Imports sections the list of required packages, which should be also downloaded. And of course, the required packages for the required too. So, you have to follow the links recursively to download the complete set. In this moment there are 13 of them, in the future, this number could change. I put them in C:\temp directory on my server, but you can choose any other.

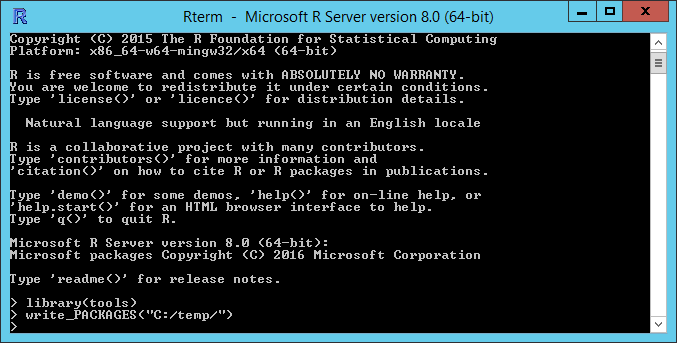
Not I need to create an index file for downloaded packages, the PACKAGES file. This could be completed using the following commands in the R console.
library(tools)
write_PACKAGES("C:/temp/")
Now we are ready to start the installation process. Don’t forget to define the directory with downloaded packages.
install.packages("ggplot2", contriburl = "file:C:/temp")
After successful installation, we can check it by trying to load the package.
library(ggplot2)
If you forget or miss to download any required package, you will see an error on this step with the name of absent package. Don’t give up, just go, download it too, put in the same folder, create the new PACKAGES file and repeat the ggplot2 installation. Hope, that this article will help you to save some time with offline installation and help to start using R Services faster. In the next post, we’ll see how to execute R scripts inside SQL Server.